
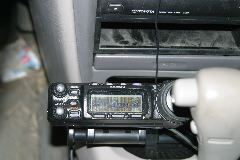
The yaesu remote sits nicely into the space on the console just ahead of the shift. Its poking a bit into the drivers side, but there is still plenty of leg room.
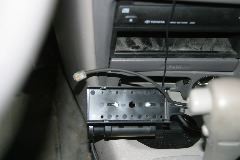
Thats an Icom MB-65 mount notice the round plate with the double sided tape or glue. Whatever it is, its strong.
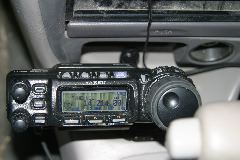
Just a closer view of the control unit.


The mounting plate without the control unit. Notice a couple of 6/32 screws+nuts+washers hold the backplate for the control unit. The knurled knob Icom provides with the MB-65 is not used.
I don't like the way the connector has to be manually connected before putting the remote onto the plate. I also should clean that shelf eh?
View of the atas120 from the front of the car.
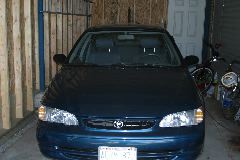
Another view from the front. Notice I took the pictures inside the garage, so the neighbours wouldn't give me the weird looks. I think they have stopped giving us weird looks now.
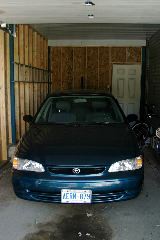
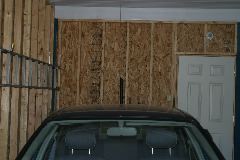
Nothing new, but you see the entire car. Plus the oil spot ruining the laneway from a previous car.
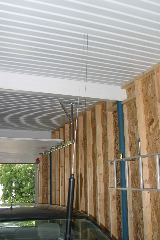
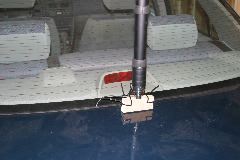
View of atas from the back, you can see the whip is just about touching, it does touch as I drive out.
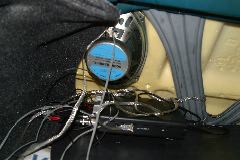
Its a bit messy looking, still needs more tidying up. Notice the heavy braided grounding. I'm going to mount the radio more securely with a bracket, but this works for now. The speaker really did not work well behind the passenger seat, and was moved under the drivers seat.

Ground braid under the hinge so the back trunk is well grounded.
Home brew iambic paddle made out of PCB
Another view. Believe it or not, it works, and fairly well.
So, there I was driving down the highway at 100 klicks and I look in the rear view mirror, to see this antenna starting to lean over... oops. I could not tighten the hex nuts any tighter, so I stuck a block of wood under the base and tie wrapped it on. I suppose the wood should be treated, but oh well.

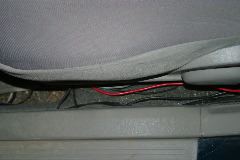
Iambic key stuck on console. You can also see I need to bring the vacuum into the car. *whistles innocently* This key is not quite right yet, it wiggles around too much still.
I had to extend the original Yaesu wiring. Thats heat shrink covered with black electrical tape. I should have used higher temperature butyl-rubber tape I read. Oh well. It will do for the short term.
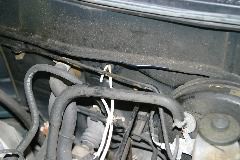
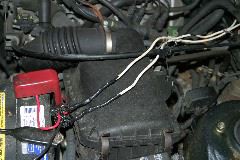
Wiring goes through a grommet in the firewall. Wiring it tied well away from little things like throttle cable.
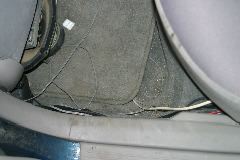
Ok, some of the interiour wiring is a bit messy still and just tucked under the carpet. literally. The grey cable is the speaker cable. I am still not happy with speaker here, it works, but I won't be able to move the seat. I'll try something else soon, and tidy up the speaker wire. That white wire is the keyer wire.
Power leads run under the front drivers seat towards console. Then tucked into plastic under console up into firewall grommet into engine compartment.